Showing posts with label natural dyeing. Show all posts

Tuesday, February 10, 2015

Pots of Purple Carrots

So I mentioned I was on a roll with dyeing one day. 
That day I dyed with the 4 lichens, I was also dyeing with red cabbage
and these purple carrots. 

When I dye, I often go big. 
Though it can seem very daunting to get it all set up,
once I've got it set up,
the actual dyeing time is a snap. 
I just sit back and wait. 
Maybe poke at a pot but really it's just waiting. 
So I often go big, adding several more pots. 
Like this past summer when I found myself dyeing 10 pots at once. 
It was great!

This is the last of the dyeing from that day and I'm not sure what I'm going to do next. 
I've been itching to get better at linen dyeing so I gather my next days will be about perfecting my scouring and mordanting tecniques for vegetable fibers. 

Have I mentioned before in another post my plans for the dyed yarn?
I've got 12 skeins or so spun up of various Maine primitive breeds.
I've also got;
2 New Mexican Churro fleeces, one from Bob I got at the State Fair back in September in N.M., and 1 from Antonio at the Santa Fe Farmer's Market though I went to his ranch for the fleece. 
1 Maine Island Fleece from Lee Straw
1 Maine Scottish Black Face from Nina Fuller in Hollis at Lily Brook Farm
And I think 1 more from Sue Pondview Farm in Limington.
I have a feeling there is another floating around in that closet of mine...

These last two farms I had a blissful time helping them out sort and skirt fleeces in exchange for 1-2 fleeces. It was an idea I had to be near sheep, help out in a way that I knew how and get paid in fleece. I hope do do it again this spring but with a growing belly, I'll need to wait and see. 

Anyway, when I get through this winter spinning all that, and it will happen, I will then have a big ol dyeing time this spring. Just as soon as this 4 feet of snow melts. Oh and after these next 3 (!) storms we have coming this week. I always wondered what it would be like to live in a northern Scandanavian country. I think I know now...
Anyway, I cannot wait for both spring and for dyeing. 

I've got all kinds of plans for that wool. 
Logwood
mushrooms
queen ann's lace and goldenrod I froze from last year so I could use it this sring and rose hips!
And there will be much more. 

So about these carrots. 
I had wild success the first time I did this back in Santa Fe on vacation. 
Probably one of my favorite posts because it was such a time of self discovery for me to be in a completely different place and still find a way to do my work. It really inspired me.
In a place like Santa Fe, in September, working with solar methods from raw plant materials, works really well. I got temps up to 110f in the jars over several hours. It was perfect. 

As you'll read about the carrots from that post, 
I only use peels from 2 medium purple carrots I got at the farmers market. 

So when I got home and tried to find purple carrots, there weren't any availble quite yet. 
I waited a few weeks and then when I finally saw them at a local market, I went a little nuts and bought a lot. To be fair, they were very scrawny and I was a little puzzled why they were even put on the shelves. They weren't really the baby size, but more like pencil size carrots. Anyway, I stashed them away planning on using them in the spring for some Easter color:)

Well, about 2 weeks ago I discovered them in my fridge, a little moldy. 
I had been checking on them every few weeks and they did just fine up until that point. 
So I knew it was time to get to work. 
Though I'm not saying that waiting til your food is moldy means its ready to dye. Fresh is better. However, I rarely dye with good healthy foods, as I don't believe in wasting it. However, these carrots were so tiny and stringy- I had planned on getting some, using only the peels and roasting the rest but there was nothing to peel and no "rest". 

I really didn't want to take the time to peel every single one as it was a pain in the butt. I did this.


Then, because in Santa Fe my experiment was solar dyeing with them, creating a long slow heat, and here it was the beginning of Janurary, in Maine. I put them in here and then next to the wood stove. 


In this long tall jar is a skein of kid mohair silk that I get online at elann.com.
Wonderful source for yarns. Have gone there for years. And now I use them for my test yarns in classes and for test dyeing.
Also there are bits of vintage lace. 
No mordants. 

Don't you just love that color?!
It's so different than it was in Santa Fe where the color was so grapey there. 

Because I had a lot of carrots, I split up more into two pots because I had a lot I wanted to dye. 
3 skiens of hand spun Maine double ply Finn. I get Finn roving from a lovely lady, Diane at the Maine Fiber Frolic. Her tent is always off the side and she always has a few Finn sheep in a pen and Shetland lace shawls hanging in her tent. Very small, with lots of natural colored roving, and spun yarns. It's my favorite tent of the whole thing:) 

Anyway, I also had a few other vintage textiles in a pot. Again nothing was mordanted. 
I chose this path because when I did my tests in Santa Fe, I found that the unmordanted samples, especially on wool were almost brighter then the alum ones (??!!) kind of crazy I thought, but I thought I'd go with it. 

It felt so right to place them on our woodstove instead of turning on our oven, which would have been fine. But the woodstove is already there and I knew my pots could handle it, I thought why not? 
I kept a thermometer in there at all times to always keep an eye on the heat. It never got above 180 which was what I wanted. It did take longer then the oven and that was also what I wanted. A long slow heat. 


Here is everything washed and drying also by the woodstove. 
I was very surprised and disapointed at first by the grey tones in the wool when in Santa fe the wool took on a lovely deeper/ brighter purple.... Though to be fair, I didn't so an exact ratio comparison. 

But the kid mohair/ silk skein, looks perfect. 
And the vintage textiles also look perfect. 
I was very happy with those. 
As I'll most likely be using these Finn skeins for knitting something for my baby, I think I'm going to go for a deeper purple and dye them in my umbilicaria later on. 


They aren't shown here, but I continued to dye with the carrot baths another 3 times. I kept throwing in vintage cloth and lace and just letting it sit. No heat to see what would happen. 
I finally let it go and dumped it when I noticed one morning a fine white film on top. It did pretty well though for about a week and 1/2. And all it was was carrot juice:)

The batt below here is dyed with lichens that you can read about here.

If you have any questions about dyeing with purple carrots, or have done some yourself, I'd love to here your story. Leave me a comment:) 

You can also follow me on Instagram, Pinterest, Twitter, and FB at 44Clovers. 

Saturday, January 24, 2015

Dyeing with 4 Lichens from 3 Corners of the World.

So I've been enjoying some nice down time here on Peaks.
I'm now in my 2nd trimester and my energy is perking back up.
Beginning around Halloween I was feeling pretty tuckered out as I was balancing this new life form growing inside me and just in general wrapping my brain around our lives changing forever.

Between the holidays, my time has been spent researching baby things, doctor appointments, times with family, snuggling on the sofa all day watching endless series of whatever felt nice and interesting. I blow through tv way more than is good for me. Holding my small chicken a whole lot more and just standing in my painting studio soaking up the energy in there and day dreaming about what I'll paint when I get around to it.

As Christmas neared I started to plan on taking January and Feburary off from cranking out the knitted and sewn goods. Or really any major shop planning things. I just needed a break from not thinking about creating for the shop. And it's been really good.
I still got the dye urges and one day a few weeks ago as I was cleaning out the fridge trying again to find that weird smell, I found two things that I over looked last time.

A red cabbage.

And a bag of tiny skiny purple carrots.
From September......

I had also been hankering to dye up my fermented lichen jars of reds and purples.

That is what I'm going to begin with here, the lichen dyes.

The next two posts will be about the carrots and cabbage, but seperately.

This is my 3rd post on lichen dyes and you can find the others in my archives.

Lichens.

I heart lichens
So
Very
Much.

I revisted my wonderful and so so informative book by Karen Cassleman, Lichen Dyes, A new Source Book. 
I've had it about a year or more and found a few pages where I had made all these notes on with my pencil. It occured to me that the first time I experimented with my fermented lichen dyes I kind of winged it, even though I had read what she said to do.  Also I was working with tiny amounts of fiber.

This time though, I did exactly as she said.
Started with 1oz of washed fiber : 1cup of dye liquor : 4 cups water.
From there I repeated the fiber amount in the afterbaths until the color was absorbed.


I had a different lichen in each jar.
The 1st being what I was pretty sure was
Evernia prunastri
that I collected from my mother in law's yard.
Which by the way is a lichen paradise.
 Let me see if I can pull up a picture.
I mean, come on. How can you not fall in love with this weird and strange organism?
Just
So
Beautiful.

Ok, two pictures. They live in the Sierra Foothills, California 
and going there in Feburary is such a treat. 

I also collected from the same spot a dark curly green lichen. Which may be what was in this last picture. 

A had a 3rd jar of Xanthoria parietina that I had collected from Inis Meáin, the middle of the Aran Island off the west coast of Ireland during our honeymoon in 2013. I finally used the last of that jar. 
sniff... sniff....

The 4th jar was of Umbilicaria mammulata I collected at Squam Lake in New Hampshire while teaching at the September Taproot/Squam. 
Meeting Stephanie Pearl McPhee aka The Yarn Harlot was pivotal in my lichen dyeing adventures because she confirmed for me that indeed Umbilicaria does resemble black potato chips. After she said that I knew I had seen it before. But I realized I didn't know what I was more excited and overwhelmed with. The fact that I just had a conversation with Stephanie Pearl McPhee. Or that she cracked my lichen mystery. 
Both I'm sure. 

Then on the last day of Squam before I headed home, I took another foraging walk around and there by the lake behind the big house, on a rock was a wonderful smattering of Umbilicaria mammulata and another Umbilicaria with the common name, toad skin lichen. Growing side by side. I collected a small amount and begun the soaking as soon I got home. 

On this day of dyeing, I was excited to get some dyeing done.
But to also just use up what I had.


Lichen fermentation is super exciting and everything
but we need not foget about the dyeing bit.


The Umbilicaria is the only one that really held the deep color in the first bath.
The others, turned out to be a very soft pink or purle.

I did wonder if it was because I was using loose wool opposed to yarn or fabric.
Which I think, saturates better... Not a fact, just in my experience so far.


I was super impressed with the first dye bath of Umbilicaria which is on the left. A bright magenta.
I think I did 2 after baths with an once of washed wool in each pot.
In a few of them, I added more dye liquor which made me feel like I was cheating but, I wanted some color to be drawn out.
It was fine.

The mystery lichen, 3rd from the left came out kind of impressive.


Going across the picture here, the fluffy batts are my carded lichen samples, 1 oz each.
1st baths starting on the far left and going up.

(below the batts are my cabbage experiments which I will post about later.


Here is my jar of leftover Xanthoria from the Aran Island.
After I poured off all the dye liquor, I just couldn't face dumping the lichens.
I mean, they came from such an ancient place and ancient spot.
So I filled it back up with more ammonia and water just to see what would happen.
This is it after just a few minutes.
I'll wait a few weeks and try it again.
When using something like lichens for dyes, I think it is so important to use up every last drop.


In the mean time, I've acquired a few lichen tools. 
A microscope
another lichen book
little jars for collecting and testing lichens in the field for dyeing
dissection tools
and the cutest red tiny filing cabinet from Ikea that will soon house my new lichen herbarium. 

Now I've just got to get organized. 

If you have any questions about lichen dyeing, leave me a comment and I'll do my best to answer you. 

I have taught a lichen dyeing course once at the Maine Fiber Frolic last summer. 
Lichen dyeing is a tricky course to teach, for me, because I want to fit so much information into a course and it all really needs time. 

I'm still on the fence if I'm going to teach one from my home studio this spring. 
I need to think about how I want to structure it because most likely, I need to be the one to prepare and ferment the lichens and even then it will be dyeing of little samples. 

So if there is something really specific or an area in lichen dyeing you'd like to learn in the form of a course, do let me know. 


Monday, July 14, 2014

Peaks Island Plant Dye Workshop Series; Summer 2014

{It's a cutting it a little close} 
But- this Saturday marks the beginning of 
my plant dye workshop series here on Peaks Island!
Just 2 miles out in the Casco Bay from Portland, Maine. 
Ferries run about every hour and it's very easy to get to. 

Join me in my back yard with my chickens and dye pots 
for some dyeing adventures. 
My home and outdoor workshop is just a 5 minute walk from the ferry so no car is needed. 

In each workshop, materials will be provided,
you'll receive 5 hours of instruction
and enjoy a delicious organic home cooked meal from one of my favorite recipes
which we'll enjoy on my porch with a breezy view of the water.
And you'll come away with a ton of skills, knowledge, dyed samples, 
and a full belly.

For further questions or to reserve your spot for any of the workshops
send me an email at:
44clovers@gmail.com
and I'll send you further info including directions and info about the ferry. 

First up:

:: Under the Rainbow :: 
Saturday July 19th
10:30am-4:30pm
{ferry from portland-9:15am. ferry from peaks- 5pm}

Plant dying for the true blue beginner. We’ll learn the basics of preparing plant dye pigment powders with safe habits, experiment with color blending, and go over equipment and materials. You’ll come away with a ton of techniques and tricks to apply in your own dyeing. 
Materials and delicious home-cooked lunch included. 
$125


*********************************************************

:: Mermaid Threads :: 
Sunday August 10th, 
10:30am-4:30pm
{ferry from portland-9:15am. ferry from peaks- 5pm}

Plant dyeing for fabric and garments. Bring 3-4 white/ light colored natural fiber garments or fabric bits. We’ll use a variety of plant dyes like indigo, madder root, onion skins, and a few others to add new life to your pieces! We’ll go over equipment, safe practices, where you can purchase dye materials, and how to care for your newly dyed pieces.
Dyes and a delicious home-cooked lunch included. 
$125


************************************************************

:: Foraging for Color :: 
Sunday August 31st 
10:30am-4:30pm 
{ferry from portland-9:15am. ferry from peaks- 5pm}

Have you ever looked at a plant and wondered if a dye lived inside? I’ll get you jump started into the world of exploring your back yard and neighborhood for dyes. We’ll go over foraging within an ecological context, cook up test pots, go over handy equipment, and talk about safety habits. 
Materials and a delicious home-cooked lunch included.
$125


***************************************************

:: Lichen Magic:: 
Sunday September 7th 
10:30am-4:30pm
{ferry from portland-9:15am. ferry from peaks- 5pm}
  
 Lichens have been used for their dye properties for thousands of years. The colors that can come from lichens cover the rainbow spectrum! You’ll come away knowing at least 4 different types of dye lichens, a few good reference books to use, pigment testing methods, extraction methods, respectful collection methods, the 3 dye-prep methods, and even a little lichenology.
Materials and a delicious home-cooked lunch included.
$125 


Do email me if you have any questions about these workshops.
Hope to see you there!

ox, rachel

Monday, May 5, 2014

Bundles Galore; a short and sweet peak.

As a natural dyer, I have been crazy about exploring India Flint's concept of bundle dyeing. 
Her book Eco Color is a beautifully laid out example of how you can take almost anything and work it directly into cloth to create one of a kind, naturaly dyed fabrics.

The beauty of this technique is all in attitude of putting "whatever" into just a piece of cloth. 
Maybe you throw in a piece of metal you found in the road, or squeeze it with lemon or both.
My creative eye now sees all things natural as potential dye additives, mordants, pigment givers and more. 

I created about a 1/2 dozen bundles
while at our B&B in Mendoceno this past feburary.
I brought along 4 pieces of premordanted with alum silk fabric. 
I was most excited about the eucalyptus I'd find. 

I found some all right, but I didn't get the results I was expecting. 

After being home for a bit I contiuned to build and add to these pieces of cloth adding layers of pigments.

Here are some results below: (i went a bit crazy)


zinfendel oxalis with left over daffodils from a dye pot


started to bundle it here and un did some of it so I could add in the dried basil leaves neglected in their pot. 


I couldn't resist but to check on it every few days. 
I was really wanting to go the way of letting it dye slowly beacuse the idea of heating it up, I wasn't sure if any of the dye pigments would like the heat. So I experiemented with this first. 


Juicer bits like blood orange rind where so much fun to add! 

I thought I'd add some sea water to the mixture to see what would happen. 


finished and pressed

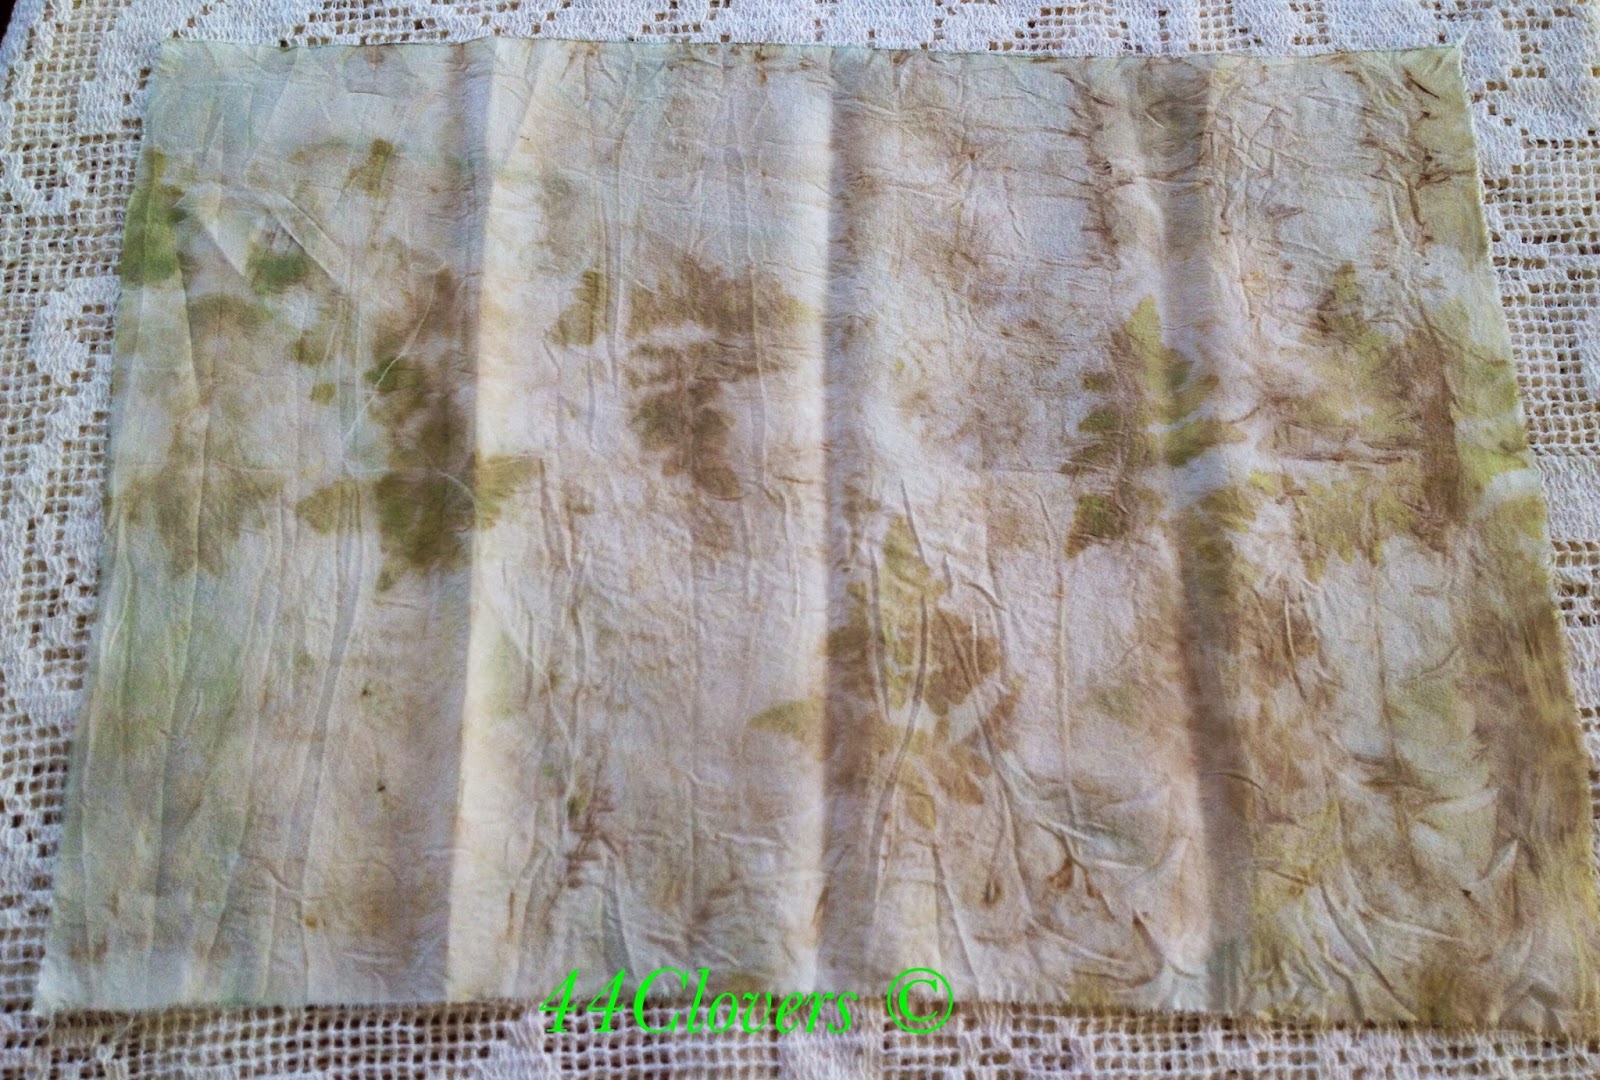
Eucalyptus from Mendocino


daffodils and iron nails


blood orange and red kale stems
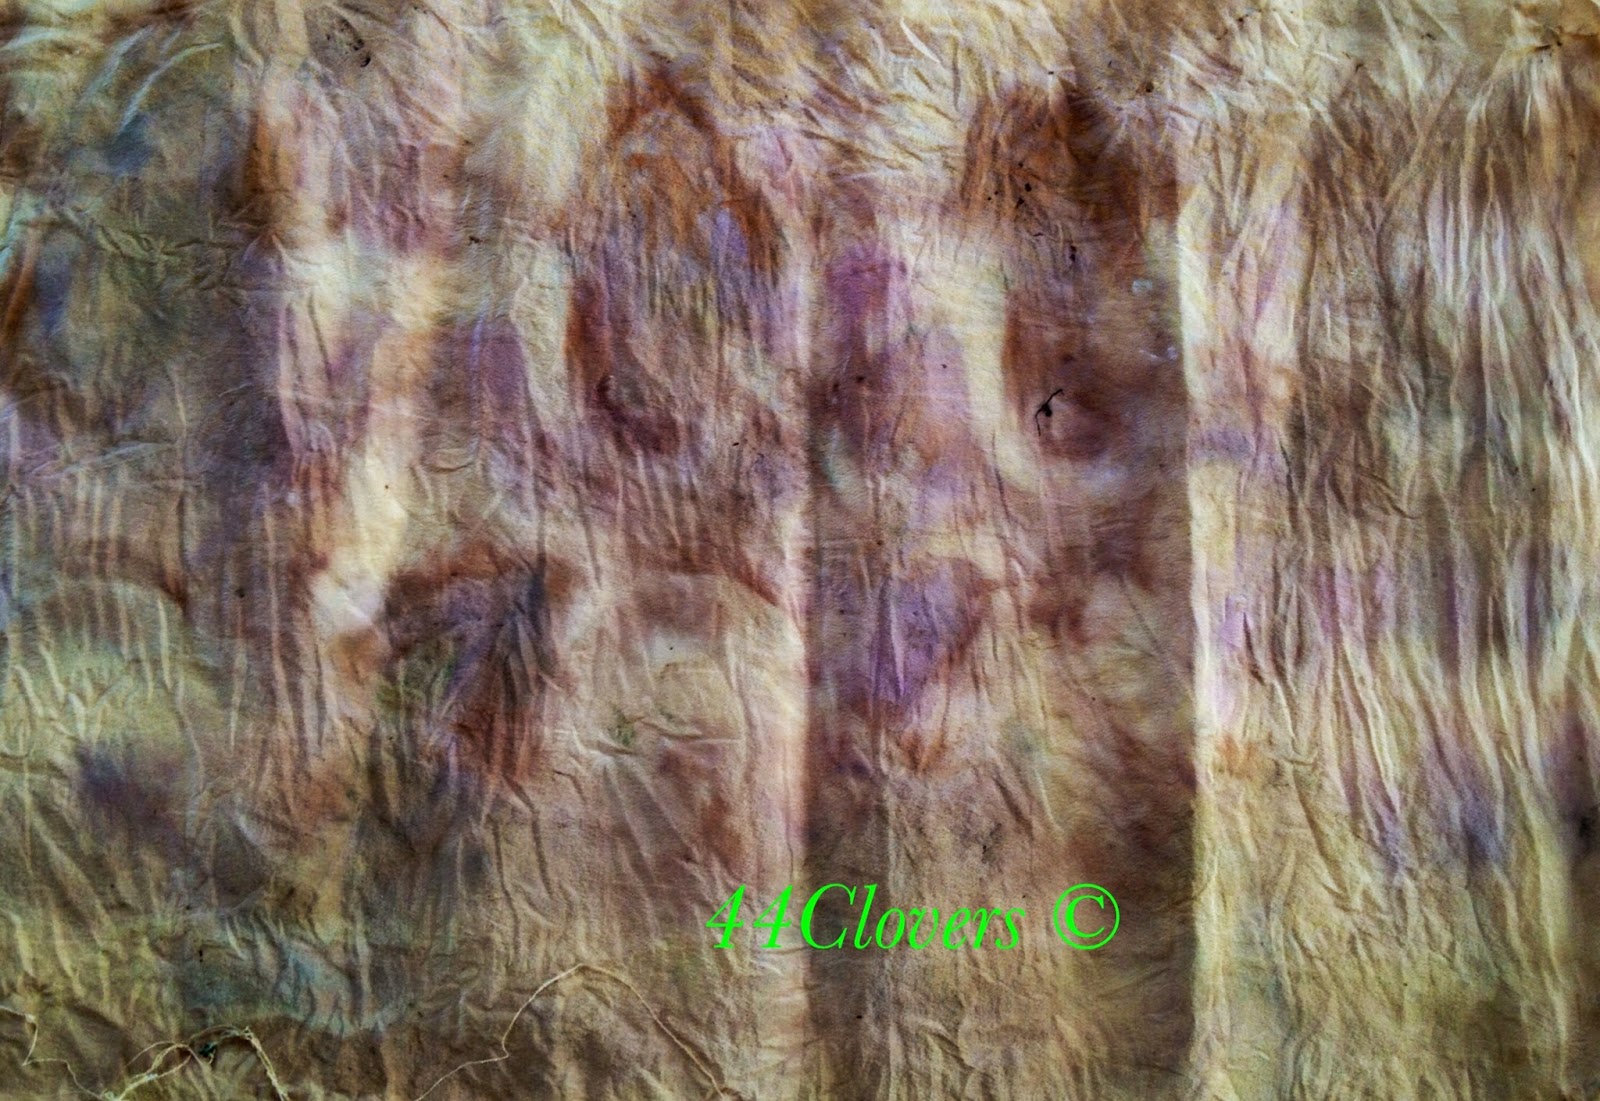
LOVE these earthy colors with the pink and pops of forest green!

baby eucalyptus leaves..
fun dots!
layered over some purple flowers tree blossoms.


small ferns near the American River
Love the patterns it left

One of my favorite surprises. 
pattern created by rusty iron nails and vinegar.
looks like a man with a staff or walking stick. 
And mountains in the back ground.


More earthy pink pigments. 
Really fun experimenting with. 


Now that flowers are starting to bloom, I'll be keeping my eyes out for when the blossom is just about to pass on. Then I'll snip it off and wrap it in some cloth and wait. 
little grape hyacinths are next on my list. 

ox, rachel